No gifts.
We just upgraded my iPhone last month, and I am completely attached to my new 4, so I definitely didn't think I needed anything else to help celebrate a quarter century.
But apparently my brain didn't get that message, because I've been doing a little shopping. Not decor/home related, sorry. But The Gap's online clearance sent me into a frenzy of outfitting myself for a bright, stripey, nautical (second half of) summer.
The first thing I picked up was another pair of skinny jeans, cropped this time.
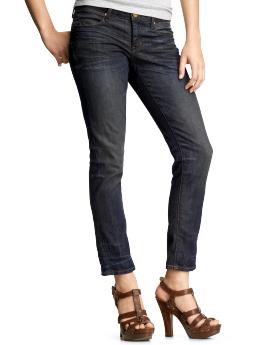
Skinny jeans from the Gap are my biggest wardrobe staple. Their cut is insanely flattering. If you think you're not skinny enough for skinny jeans, try these out, for real. I'm super excited to add a cropped version.
I can't wait to pair them with this adorable sweater. A silk blend for only $12.99!

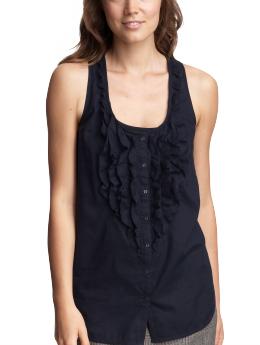
And this adorable ruffled tank, with a gray (0f course) cardigan.
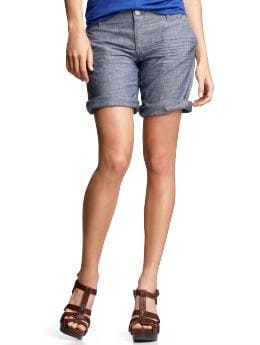
I've had my eye on these shorts since they first appeared, and I was happy to snap them up once they were half price.
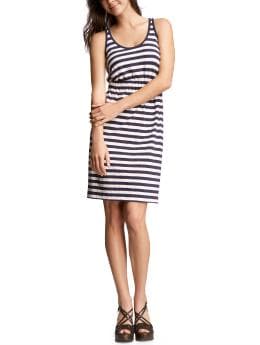
And I also got a nautical striped tank dress that will be perfect for hot weekends.
Then I continued my shopping spree with this new bag from etsy seller ikabags.

And today I got a red quilted clutch wallet, a gold leaf headband, and the cutest antique gold tone necklace with a pair of scissors as a charm.
I can't help but notice the stripes, the navy, the red, the yellow, and notice that it reminds me a lot of the color schemes I've picked for the sunroom and the living room. Especially when I add these pieces into my already gray wardrobe, I'll look right at home.

I'm so excited about my new handbag, I couldn't resist a sewing project. I prefer big handbags, so that I don't have to carry a separate laptop bag. But letting my laptop bang around in a giant cloth bag isn't the best idea. So I whipped up a replacement for my old gray sleeve. Something that will fit the cheerier feel of my new bag!
For this project, you'll need a half yard of two fabrics (one more heavy for the outside, and one for the lining). You can use the same fabric if you'd like. You'll also need a half yard of 1/4 thick lining. I used a double thickness of bamboo batting, and it worked great.
First measure your laptop's dimensions. Measure end to end both ways, and also all the way around, both width wise and length wise.

I came up with 10.5"x13", and a circumference of 24" on the short side, and 29" on the long side. These measurements are for a 15" Think Pad, but you'll want to take your own.
To determine how big to cut your fabric, divide your circumferences by two and add an inch. I came up with 13"x15.5", and cut two pieces of each fabric to this size.
For the bunting, divide the circumference by two, and that's your measurement. For my computer, I needed two pieces 12"x14.5".

I decided to use ribbon and two D-rings as a closure (like a d-ring belt). Some other options are a big button and elastic, a flap with velcro, and a simple tie closure. You'll need to modify these instructions a little bit if you want a flap, but basically you'll need to cut one piece of each fabric a little longer, accounting for the flap.
Once you have your fabric cut, you're ready to pin it. Pin one liner piece and one outer piece together, right sides in, along the short side. If you're doing elastic or ribbon closure, you'll need to pin it into the seam before you sew.
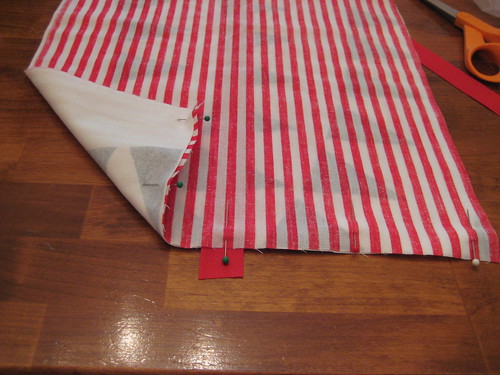
See the ribbon sticking out? There is a much longer length between the fabrics.
Once you've sewed this seam, turn the right sides out and iron the seam. If you're doing the D-ring closure, then you should go ahead and sew the other length of ribbon on the opposite side. This would also be a good time to attach buttons or velcro.
At this point, you'll have your two sides with some sort of closure attached.
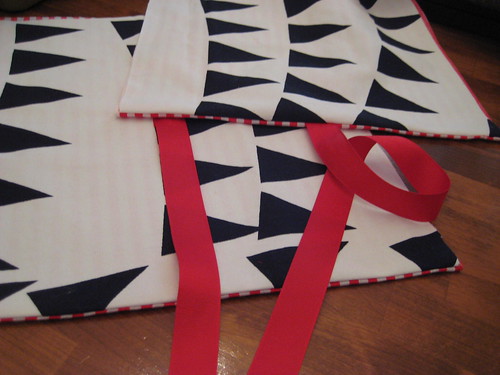
Now, you'll put in your batting between the layers of fabric. Line up the short side with your short seam, and then smooth the other layer over the batting.
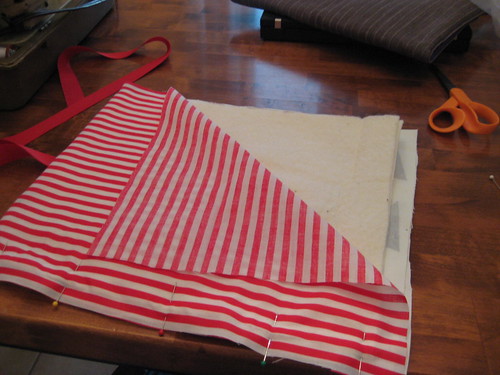
Then pin each side together, lining out, and sew around the long sides and the bottom short side. Turn it inside out and you should have a laptop shaped pouch!

Test it out to make sure your laptop fits.

Success! Then attached your D-rings and finish the end of the other ribbon at an appropriate length.
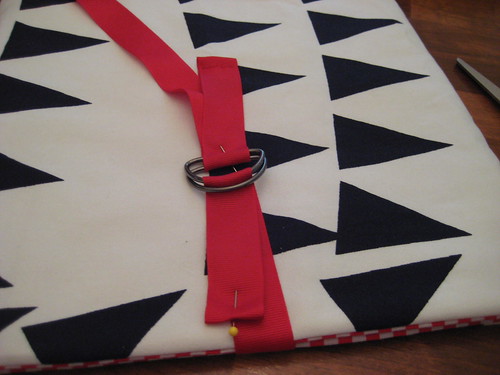
Then close it up, and you've got a laptop sleeve that's perfectly coordinated to your bag!


