I made a stop on the way home from work to get all the necessary supplies, and on Friday morning, we picked up the tile and got to work. We also realized that we forgot to order bullnose tile for the edges, but it should only take a couple of days (white bullnose is very common, unlike the gray glass that took six weeks).
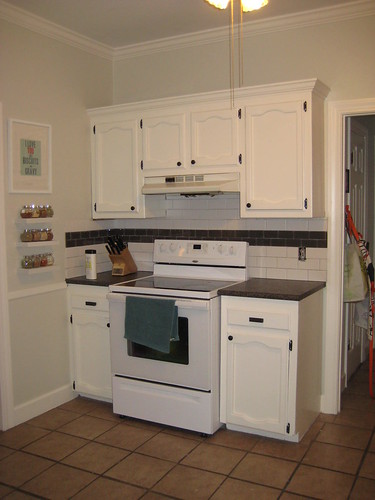
We started with the stove wall. We used a tutorial from This Old House and found it to be very helpful, except for a couple of exceptions.
Our first step was marking a level marking between the two runs of countertop. Then we found the center and marked a vertical level line all the way to the top and in DARK pencil. Since we went with a running bond pattern, we measured 3" over from that, and made another dark vertical line. Both of these lines need to be seen through your adhesive once you notch it.
Then, we passed the point of no return and started slathering on the tile adhesive. We used Omni brand adhesive. You need adhesive for wall tile since gravity isn't helping it out. With just thinset, you would have a harder time getting the tiles to stay up. We put the adhesive on with a small, wide putty knife and then used a notched trowel (the smallest size. They are labeled based on which size of tile you're using) to spread it and make the lines. Apparently these lines are really important because they cause suction and help the tiles stick.
And let me tell you, these tiles really stick! I was really pleasantly surprised at how easily they stayed up.
We started with the center line and went out from there. It's a good idea to generally start in the center of your focal point (in this case, the stove). But you should lay out your tile before you begin to make sure you don't end up with a tiny sliver on one side or something. Basically, I found that a lot of tiling is using your judgment.
So we were rolling on the white subway tile. Once we got three rows done, we were ready for the glass. The glass came in sheets of 18 tiles. We trimmed them into three strips of two rows each for our stripe.
After we had most of the wall done, we were feeling pretty spiffy!
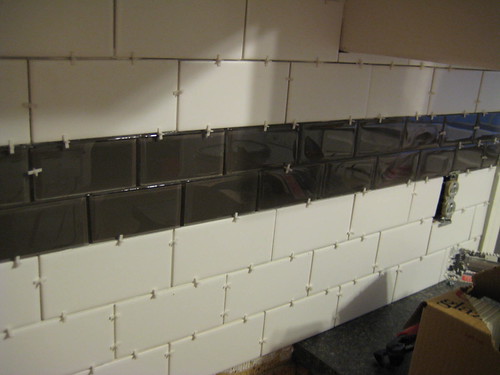
Note: this is probably the best picture of the color of the glass tile. It's a smoky gray with a touch of brown that almost perfect matches our countertops.
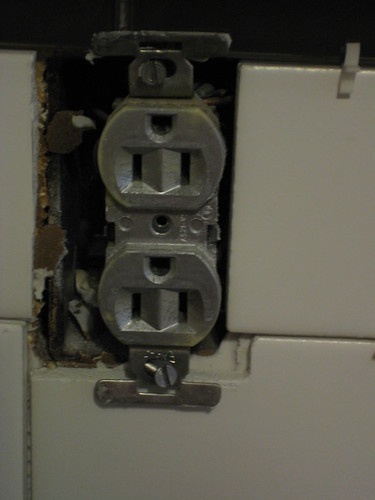
But while we were trying to do the cuts underneath the upper counters, things were not going well. We did okay on the cuts around the outlets. (This picture isn't upside down. The outlets are. I'll try to remedy that tomorrow).
But the cuts at the top required long, very skinny pieces. And the $14 tile scorer that This Old House assured us would be enough was, well, not enough. For shorter cuts, it was okay (although we ended up with quite a few jagged pieces). But for longer cuts it ended up breaking the tiles into pieces.
After a lot of frustration and a glass tile shard in my leg, I called Home Depot and rented a wet saw. We hoped it would be a breeze. We started small with an easy straight cut.
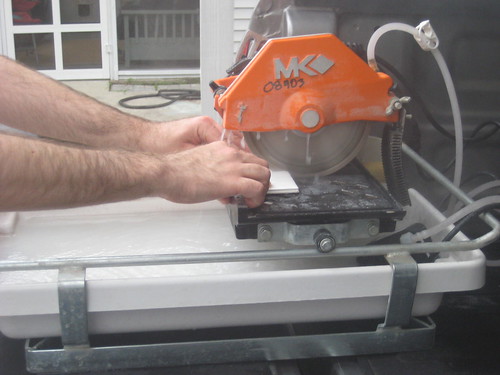
And it worked! The tile saw is my new best friend. But Brett may love it even more. He would barely let me touch it! I'm sure this had nothing to do with me sticking my hands where they are apparently NOT supposed to go.
Once we had the saw, we were ready to roll. Filled with confidence and hunger, we did all the cute for the oven wall, finished it up and had some dinner and went to bed.
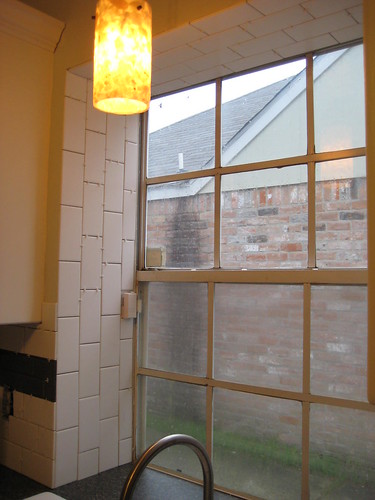
We woke up early and antsy this morning. For the second wall, the focal point is our bumped out window above the sink. It might be the very best part of the kitchen, and it brings in the light that makes me love being in this room so much. We wanted to feature it the way it deserved to be featured. And painted drywall wasn't cutting it.
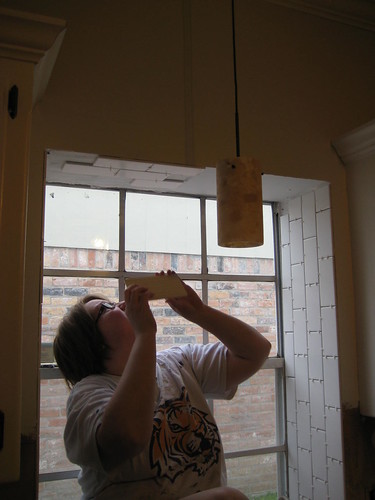
So we tiled it. We went with a running bond pattern going the opposite direction, and I'm in love. Even if a few tiles fell on my head in the process (the secret is to press REALLY hard when you put them up). It's really stunning.
After the window was done, I climbed out of my 11 by 35" jail cell (I had to set all of those tiles because my 6'2" husband just wasn't going to fit. Since getting in and out from behind the sink was less than easy, he cut all the tiles and I didn't get out until I was done) and we made a quick run for more adhesive.
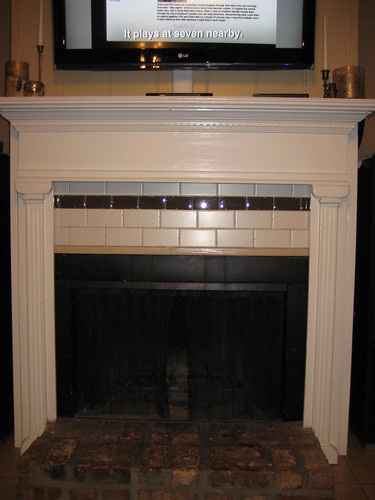
Then we were ready for the easier stuff. Now that we had our tile saw, straight runs were easy peasy. We even had enough time leftover that we tiled the fireplace surround!
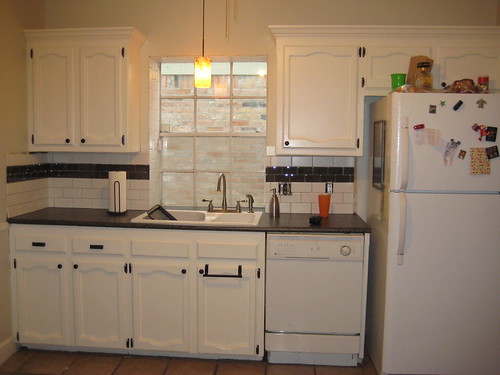
I can't wait to see it all done. It makes us want to have nothing on the countertops!