Desperate for a cheap alternative, I wondered if there was some way to make my own. I considered a paint your own pottery store. But those places are usually super expensive, and plus, I'm no artist. My plate would end up looking like a spider or a leggy blob.
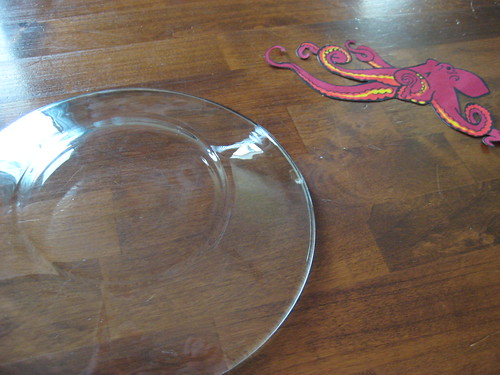
This morning while grocery shopping, I wandered down the serving ware aisle. I picked up a plain glass salad plate for only $1.49, hoping I could figure something out. I already had all the other supplies I needed, so I wouldn't be out more than $2 if I messed it up.
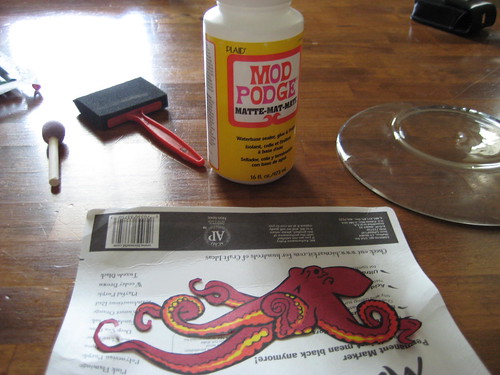
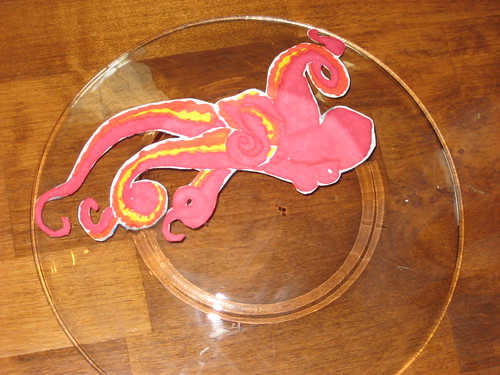
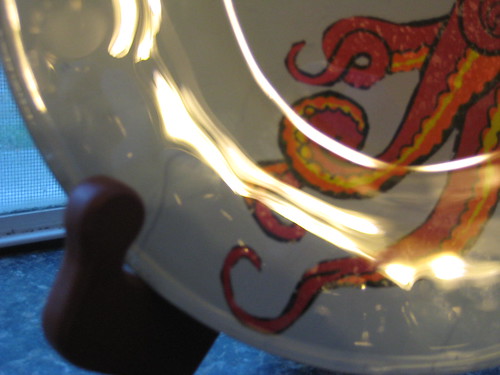
When I got home, I googled "Octopus drawing" and found the best example on a website for teachers. I printed it out on plain printer paper in high quality (DON'T use cardstock! It will make it much harder to work with). Then I colored it using felt tip markers, in the color palette I wanted. You could also use an image that's already colored, and skip this step. Cut it out carefully with an exacto knife.
So now you have a plate, and the decorative elements (try layering more than one!)
You'll also need a bottle of Mod Podge (I used matte, but glossy is probably fine too), a couple of foam brushes, and paint for the background.
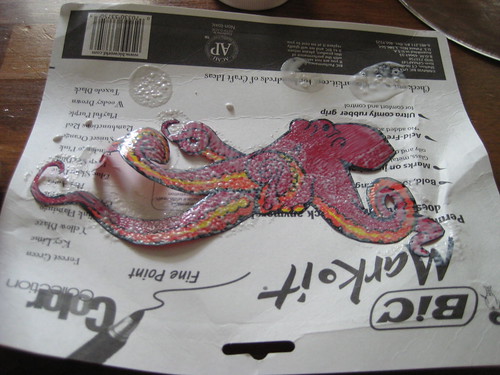
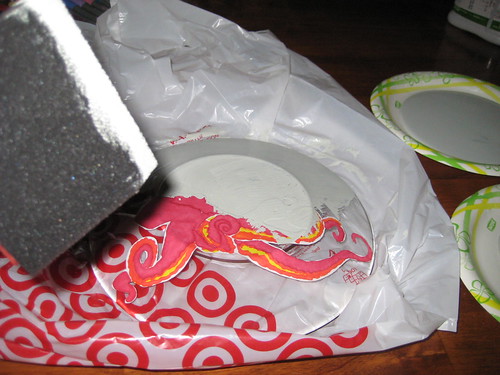
Put your paper face up on a piece of scrap paper or cloth. Apply Mod Podge all over the face.
You really don't need to worry about making it even or looking good. It will dry clear and you won't be able to see it.
Next, apply your image to the BACK SIDE of the glass plate, facing the right side of the image down. When looking from the front of the plate, you should be able to see the right side of the image.
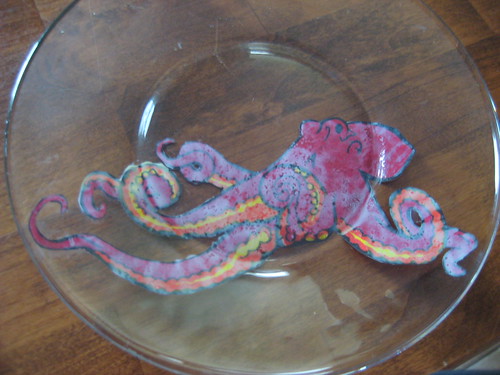
Clean any excess Mod Podge from the back of the plate, and let it dry. I used wet paper towels and Q-tips dipped in water to clean it.
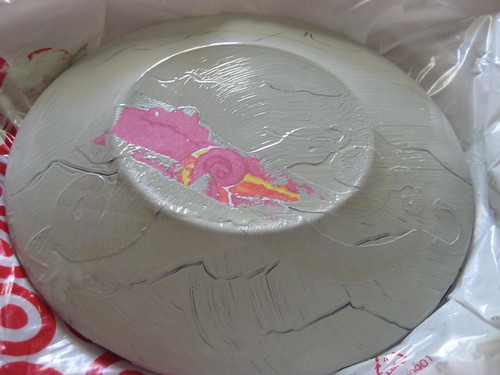
Once the Mod Podge is dry (I waited about an hour and it was plenty), you're ready to paint! I used old sample paint from our bedroom. I mixed two shades together and brushed it all on. Don't worry about getting paint on the paper. You won't be able to see it from the front.
The first layer of paint will probably be pretty streaky. I also added some "waves" with a flat brush. Once that layer is dry to touch, you can add a second layer. I added some black paint this time for depth.
Once it's dry, clean the front of the plate and there you have it! A totally custom decorative plate for under $5 (assuming yo don't have paint already). If you sealed the back with clear coat, you could even use it! Just hand wash GENTLY.
I'm going to give it a few days to dry before I attach the hanger to the back, but for now it's sitting pretty in the kitchen window!
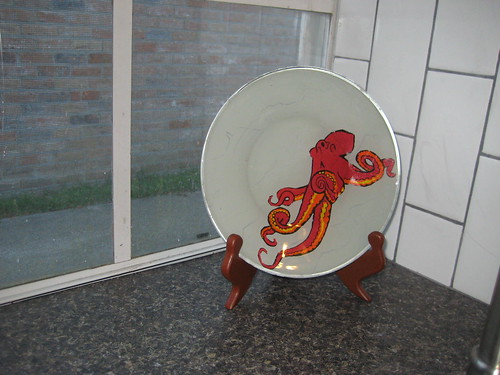
Not too shabby, right?