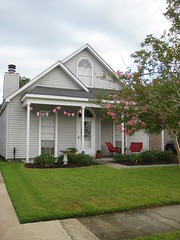
First, I spruced up our front door wreath with some red berries and some red and blue ribbon.
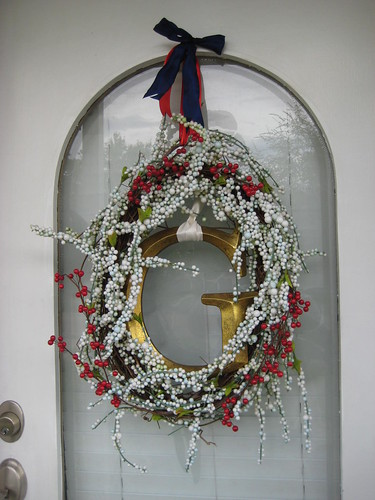
That's a little more like it!
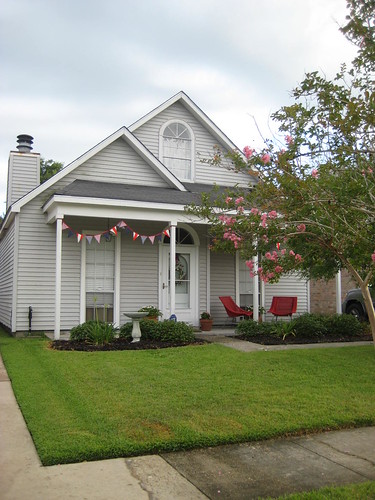
We also moved the red chairs from the back porch out front. It's now a great place to sit and read during our many summer thunderstorms!
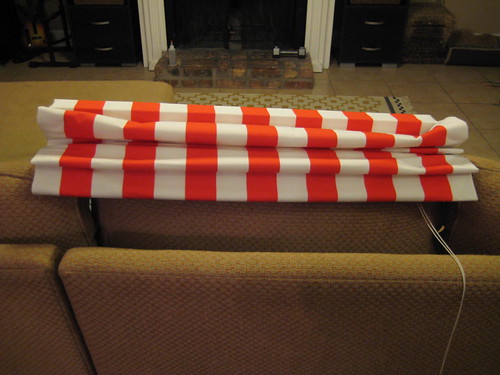
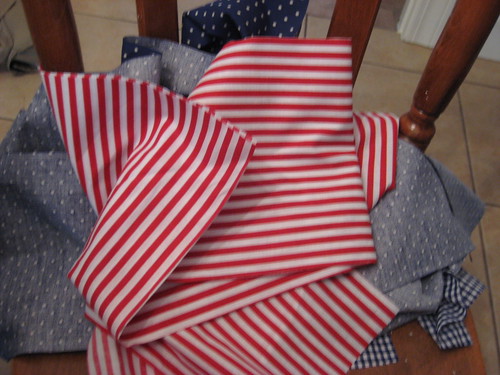
But it was still missing something, so I dug into my fabric stash and decided to whip up some flag bunting. I found some easy instructions online and got to work.
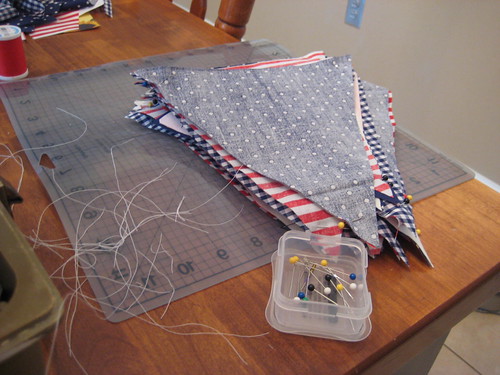
First, I picked out four coordinating fabrics, and cut strips the wide enough to make a nice sized triangle.
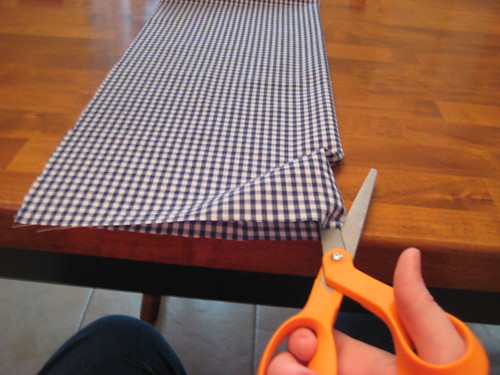
Then, after making a template from paper, I grabbed my rotary cutter and set to work. I tried this with scissors and it was so much harder, so if you have a rotary, bust it out. Once you have one triangle cut, you can just alternate the orientation and cut the triangles really quickly.
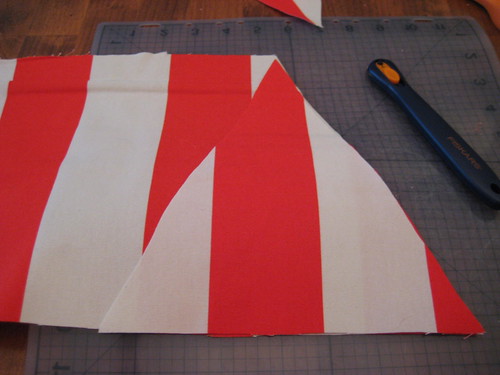
Then, just pin them right sides together (you can make them matching front and back, but I alternated for a fun look). Then stitch them up on two sides, leaving the top of the triangle open.
When you turn them out, you'll need something to help with the points. I used the end of my scissors, and the blunt end of a wooden skewer. Then it was time to iron them flat, and put the whole thing together!
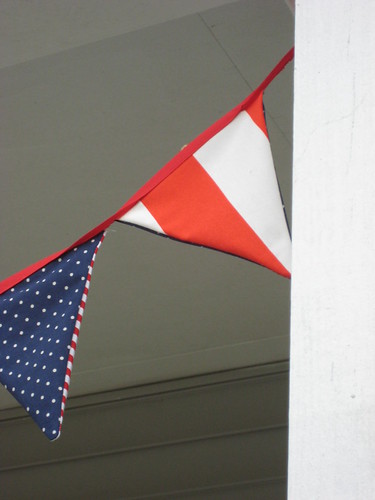
Once they were ironed, I used bias tape to bind them. I just pinned each flag to the bias tape, alternating the patterns, and stitched across the entire thing. I didn't have any of the right bias tape, and since this was a "work with what I have" project, I made do. So the front is prettier than the beack, but still pretty darn cute!
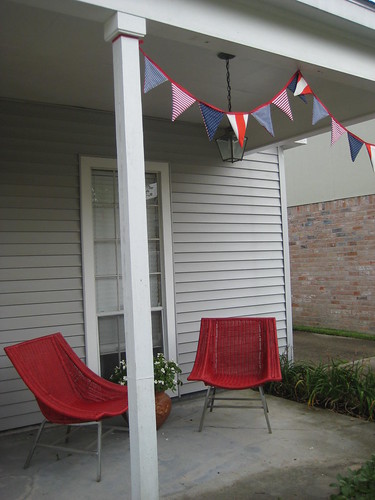
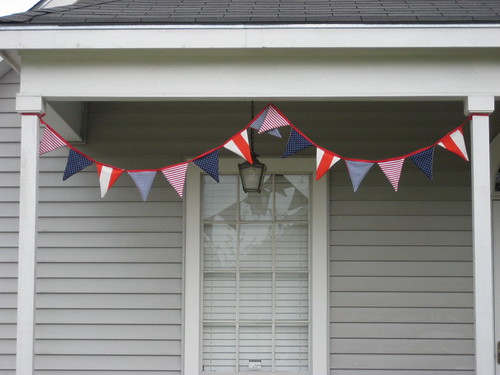
So with a few hours of work and a minimal investment, our front porch is much cheerier, and ready for the holiday weekend!
Want to see more awesome Red, White and Blue projects? Head on over to Centsational Girl's Stars and Stripes Party for more patriotic fun!